Winter Hiking: How to Stay Safe and Prepared
Jerome StolzWinter can make a familiar trail feel like a different place. Snow and ice reshape the terrain, turning a trail that felt easy in summer into a hike that requires more time and effort. Nevertheless, with careful planning, a winter hike can be enjoyable and rewarding.
This guide covers how to prepare for a winter hike. You'll learn how to choose a safe route and pack for the cold, so shorter days and changing weather don't take you by surprise.
Pro and Cons Winter Hiking
Winter hiking offers quieter trails, beautiful snow-covered scenery, and a completely different experience from hiking in warmer months. But there are a few trade-offs that can make the hike more challenging and require some extra planning.
Pros of winter hiking:
-
Quieter trails and fewer crowds
-
Beautiful winter scenery
-
No heat to manage on a long climb
-
No Bugs, so no mosquitoes or black flies
Cons of winter hiking:
-
Snow and ice can make trails harder to navigate
-
Shorter daylight limits hiking time
-
Cold weather requires more clothing and preparation
-
Your pace can be slower, especially in deep snow
-
Water and equipment can freeze
Tips on How to Prepare for a Safe Winter Hike
So, what does it take to handle those winter hiking challenges? Which route is right for you, what should you pack, and how can you prepare for changing conditions?
Here is what to consider before you set off.
1. Choose the Right Winter Hike for Your Condition
For your first winter hike, choose a shorter and easier route than you would in summer, especially if you are still learning how snow and ice affect the trail. Distance, elevation, terrain, and your experience matter more when winter conditions slow you down.
Once you have a route in mind, check recent trail reports to see what you are likely to encounter. Look for updates on snow and ice, trail maintenance, and recent changes that could affect your plans. This can help you decide if the route is suitable for the conditions and your experience level.
2. Check Conditions and Plan Your Route
Check the forecast for the full time you expect to be outside, not just when you plan to leave. If temperatures hover around freezing, conditions can change quickly as wet trails turn icy. Also check the forecast for the elevation you’ll be hiking at, since higher sections can be colder and more exposed than the trailhead.
If your route crosses open slopes above the treeline, check your regional avalanche bulletin too. Avalanche.org covers the United States, the SLF publishes for Switzerland, and the EAWS portal covers most of Europe.
You can also check recent trail reports for a more up-to-date picture of the route. If they suggest conditions are worse than expected, having an easier alternative in mind gives you a straightforward option if you need to change plans.
Snow can obscure trail markers and landmarks, so download your route for offline use before you leave. On longer or more remote hikes, carry a map and compass as a backup. Keep your phone somewhere warm to help preserve its battery, and consider bringing a power bank.
3. Choose the Right Layers and Clothes for Winter Hiking
Start slightly cool and adjust your layers as you climb. Once you start moving, you will generate more heat, so you may need less insulation than you expect at the trailhead.
A simple layering system can help you regulate your temperature as conditions change. Wear a moisture-wicking base layer, add an insulating mid layer, and use a windproof or waterproof outer layer when needed. Avoid cotton, especially for base layers and socks, because it holds moisture and dries slowly.
You should also pay attention to your hands, feet, and head. Choose gloves, socks, and headwear suited to the conditions, and carry dry replacements for anything that could get wet.
The goal is to adjust before you become too hot or too cold. Open your shell before you start sweating, add insulation before a rest stop, and keep your warmest layer somewhere easy to reach.
4. Prepare Your Gear for Winter Conditions
You do not need to replace your hiking gear for winter. Most of your existing gear can still serve you well, with a few additions to help you stay comfortable and prepared in winter conditions.
Winter additions to your hiking kit:
-
Traction such as microspikes, crampons, or snowshoes, chosen for the terrain and snow conditions
-
Gaiters when deep snow or wet conditions could get into your boots
-
Trekking poles for balance, with snow baskets when needed
-
An insulated jacket for rest stops, delays, or a sudden change in weather
-
Waterproof storage to keep spare clothing and electronics dry
What to pack for a longer winter hike:
-
A headlamp and spare batteries, even if you expect to finish before dark
-
Extra gloves and socks, since wet ones stop insulating
-
An emergency blanket or bivy, both lightweight and especially useful in winter
-
A first-aid kit sized to the trip
-
Extra food beyond your plan for the day
-
A phone and power bank kept warm in an inside pocket
5. Stay Hydrated and Fueled in Winter
You still need to drink regularly in cold weather, even when you do not feel as thirsty as you would on a warm-weather hike. Keep your water easy to reach and make a habit of drinking throughout the day rather than waiting until you feel thirsty.
In freezing conditions, protecting your water becomes just as important as carrying enough of it. An insulated bottle can help prevent freezing, while hydration tubes may need extra protection because they are exposed to the cold. Check your water regularly, especially before longer sections where you will not have an easy chance to refill.
You should also keep your water filter warm, especially if you plan to refill your bottle from natural water sources. This is important because some filters can be damaged by freezing. For instance, a hollow-fiber filter holds a small amount of water inside after use, and if that water freezes, it expands and can burst the hollow fibers.
You can prevent this with a few simple habits. After each use, blow through the filter to clear any remaining water. Then keep it in an inside jacket pocket, close to your body. If you are sleeping outside, take it into your sleeping bag overnight. If you know the filter froze while it was still wet, replace it. Damaged fibers may not be visible or may affect the taste of the water.
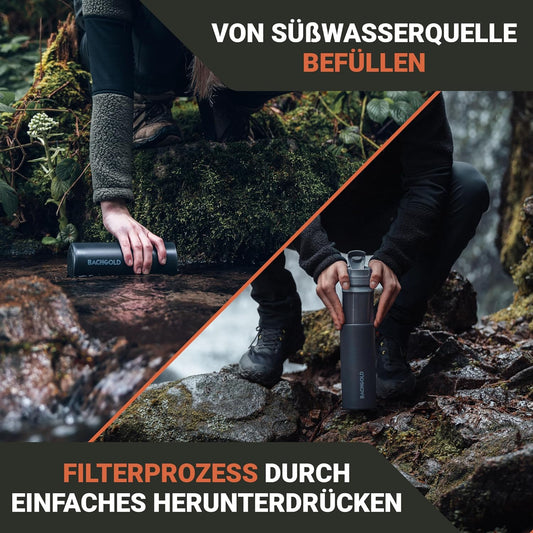
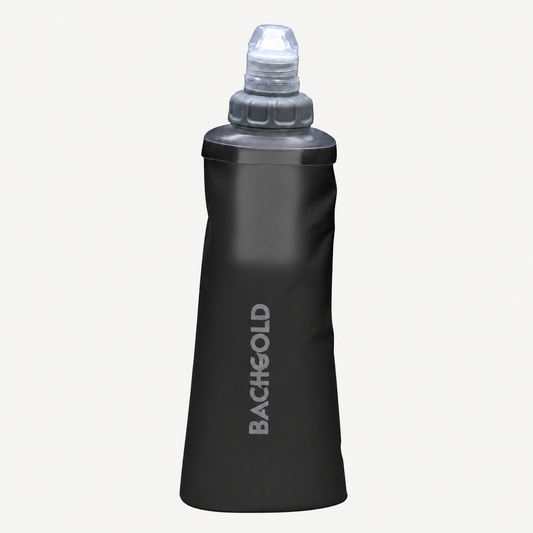
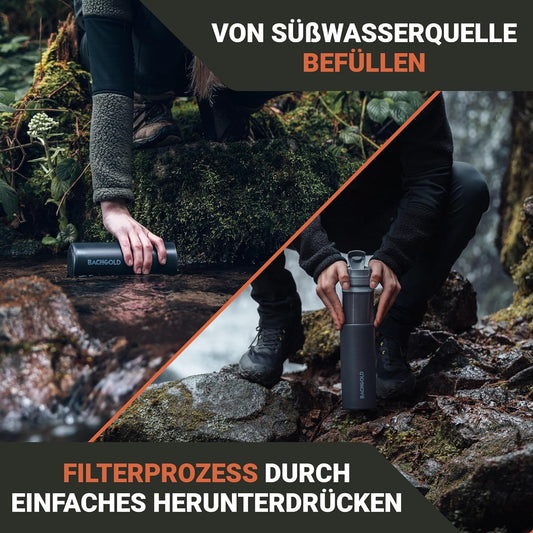
A squeeze filter such as the BACHGOLD Squeeze is small enough to fit in a chest pocket, making it easy to access when you need to refill your bottle on the trail. Its compact size also makes it convenient to carry alongside your other essentials.
Winter hikes can also take longer than expected, so carry enough food to keep your energy up if your pace slows. Choose snacks that are easy to eat in the cold and keep them somewhere accessible, rather than buried at the bottom of your pack.
6. Know When to Turn Back
Finally, decide on a turnaround time before you start. If conditions worsen or someone struggles to stay warm, turn back before it becomes serious.
Keep checking in with everyone as you hike, especially during longer or more demanding sections. If someone is becoming unusually tired, cold, or uncomfortable, take a break and reassess the plan before continuing.
Winter Hiking Safety: Common Problems to Watch For
Hypothermia
Hypothermia occurs when your body loses heat faster than it can produce it. It can happen even above freezing when wet clothing, wind, and exhaustion combine. The CDC lists several warning signs in adults, including shivering, exhaustion, confusion, fumbling hands, memory loss, slurred speech, and drowsiness.
If these signs appear, stop and get out of the wind. Remove wet clothing and warm the center of the body first, including the chest, neck, head, and groin. Use blankets or skin-to-skin contact to help provide warmth.
The NHS also advises against several common approaches. Do not rub the person’s arms, legs, feet, or hands. Do not use a hot bath, hot water bottle, or heat lamp, and do not give them alcohol. Get medical help if they do not improve, or immediately if their temperature is below 35 °C (95 °F).
Frostbite
Frostbite occurs when the skin and underlying tissue freeze. It usually affects the fingers, toes, ears, nose, and cheeks first. Numbness and skin that looks pale, gray, waxy, or unusually firm can be warning signs.
Keep exposed skin covered and dry. Protect it from the wind as well. If you suspect frostbite, avoid rubbing the affected area and seek medical attention, especially if the skin remains numb, hard, or pale.
How to Prevent Hypothermia and Frostbite
The best way to deal with cold-related injuries is to prevent them before they develop. A few simple habits can help you stay warm, dry, and aware of how you and your group are coping with the conditions.
-
Stay dry: Manage sweat while moving and change wet layers as soon as possible.
-
Layer before you get cold: Add insulation before rest stops and protect yourself from wind and precipitation.
-
Protect your extremities: Keep your hands, feet, ears, nose, and face covered in exposed conditions.
-
Keep moving, but pace yourself: Avoid long breaks in exposed areas, but don't push yourself to exhaustion.
-
Eat and drink before you go out: Don't wait until you are already on the trail.
-
Check yourself and your group: Watch for unusual shivering, numbness, clumsiness, or changes in behavior.
-
Act early: If someone is becoming dangerously cold, stop the hike and focus on getting them warm and safe.
This article is general information rather than medical advice. In an emergency, contact your local emergency number or mountain rescue service.
Be Ready for Your Next Winter Hike
Winter hiking becomes much more manageable when you prepare for the conditions rather than simply the temperature. Give yourself enough margin for the day to unfold differently than expected, and you’ll be better prepared to enjoy the trail without unnecessary stress.
To keep yourself hydrated in cold conditions, a reliable water filter can make it easier to refill on longer hikes. BACHGOLD’s water filters are designed for practical use outdoors, giving you a convenient way to access water along the trail.
Related Article:
References
Medical and safety guidance
- U.S. Centers for Disease Control and Prevention. Preventing Hypothermia. https://www.cdc.gov/disasters/winter/staysafe/hypothermia.html
- U.S. Centers for Disease Control and Prevention. Preventing Frostbite. https://www.cdc.gov/winter-weather/prevention/preventing-frostbite.html
- NHS. Hypothermia. https://www.nhs.uk/conditions/hypothermia/
- Mayo Clinic. Frostbite. https://www.mayoclinic.org/diseases-conditions/frostbite/symptoms-causes/syc-20372656
- U.S. National Weather Service. Wind Chill. https://www.weather.gov/safety/cold-wind-chill-chart
- Freund, B.J. and Sawka, M.N. Influence of Cold Stress on Human Fluid Balance, in Nutritional Needs in Cold and High-Altitude Environments. National Academies Press. https://www.nationalacademies.org/read/5197/chapter/14
- Mountaineering Scotland. Hypothermia. https://www.mountaineering.scot/safety-and-skills/essential-skills/weather-conditions/hypothermia
- Avalanche.org. Avalanche Education. https://avalanche.org/avalanche-education/