How to Find and Choose Water Sources While Hiking
Jerome StolzFinding a safe water source while hiking comes down to three steps. First, you plan where you'll refill before your trip. Then, once you're on the trail, assess each water source you reach. If more than one is available, you choose the best of them. Whichever you pick, even the cleanest-looking stream or spring should still be treated before you drink it.
This guide walks through all three in order. You'll learn how to find reliable water sources, how to recognize the warning signs of contamination, and how to make good decisions in different environments. Toward the end, we will cover what to do if your planned water source is dry and how to prepare for longer stretches without reliable water.
How Do You Find Water Sources Before You Even Start Hiking?
You can find water sources before a hike by combining topographic maps, trail apps, guidebooks, and recent local reports. Mark the potential refill points along your route, then confirm each one is likely to be flowing during the season you're hiking.
1. Start With Maps and Guidebooks
Topographic maps, guidebooks, and digital trail maps mark the springs, streams, rivers, and lakes along your route. They show where water is normally present, not whether a given source is flowing at the time you arrive, so you'll still want to confirm each one before you rely on it.
2. Check Current Conditions
Before you count on a water source, check its current status through ranger stations, official park websites, or any app or website that carries recent hiker reports and local news. What's happening on the ground this week is more important than what a map shows.
3. Make a Backup Plan
Never build your day around a single refill point. Mark every planned water source, work out the distance between them, and line up both a backup source and an emergency option in case conditions change.
How Do You Find Water on the Trail?
When there's no marked water source in sight, vegetation, terrain, and the sound of running water are your best natural clues. None of these signs guarantee water, but each one points you toward the places where you're most likely to find some.
1. Look for Healthy, Green Vegetation

A patch of vegetation that looks greener or denser than the land around it often means damp soil or water is nearby. The contrast is the real clue, so when lush plants stand out against dry ground, head toward them and look for the spring or stream feeding them.
Vegetation alone isn't proof that water is available, but it could be one of the first signs that you're heading in the right direction.
2. Pay Attention to the Terrain
Water naturally flows downhill and collects in lower areas. Valleys, gullies, drainage channels, and the base of slopes are generally more likely to contain streams or springs than exposed ridgelines or hilltops.
If you're close to a stream, you may hear running water before you see it. In quiet conditions, stopping for a moment to listen can help you locate a hidden creek below the trail.
3. Treat Animal Trails as a Secondary Clue
Animal trails are sometimes associated with nearby water because many animals regularly visit reliable water sources. However, they shouldn't be used as your primary navigation method.
A well-worn trail created by large mammals may provide a useful clue in some environments, particularly dry regions where water is limited. In other landscapes, animal movement may have little connection to water. Always consider animal trails alongside your map, the surrounding terrain, and vegetation rather than following them on their own.
Animal trails come with a safety catch, too. The same path that leads you toward water can lead you toward the animals using it, so stay alert for signs of bears or other predators and don't follow a trail into thick cover where you can't see what's ahead.
How Do You Choose the Best Water Source?
When more than one water source is available, choose the one least likely to be contaminated before treatment. Weigh each option by how fast it's flowing, what lies upstream, and what type of source it is, so the closest source isn't automatically the one you use.
As a rough guide, you can rank natural water sources in the following order of preference:
| Water source | General preference | Why |
|---|---|---|
| Spring (where water emerges from the ground) | Best | Often has the least surface exposure before reaching you. |
| Fast-flowing stream | Very good | Moving water is generally preferable to standing water. |
| River | Good | Usually has continuous flow, but check for upstream contamination. |
| Lake | Acceptable | Still water, with contamination risk depending on location and activity. |
| Pond | Less desirable | Smaller, shallower, and more likely to have stagnant areas. |
This ranking compares relative risk, not drinking safety. Every natural water source, springs and mountain streams included, should still be treated before you drink it. So when you have a choice, take the source highest on the list, then treat the water before use.
Which Water Sources Should You Avoid?
Avoid water sources that show clear signs of contamination, little or no water movement, or nearby human or animal activity. When a better option is within reach, it's usually better to walk a little farther before you fill up.
Avoid collecting water from:
-
Stagnant pools and puddles with no visible inflow or outflow, since contaminants build up more easily in still water.
-
Water surrounded by heavy livestock or wildlife activity, especially where tracks, droppings, or animal use are concentrated.
-
Water with visible algae blooms or unusual discoloration, both of which can signal poor water quality.
-
Beaver ponds, since beavers are linked to the spread of Giardia and other pathogens.
-
Areas downstream of campsites, toilets, or latrines, where human waste and camp runoff can wash into the water.
With these sources, walking away is your best protection. Appearance won't tell you what's in the water, and with algae blooms in particular, the toxins are chemical, so filtering or boiling won't fully clear them. When one of these is the only water you can reach, collect from the cleanest spot you can and treat it thoroughly before drinking.
How Does the Season Affect Where You'll Find Water?
How much water you'll find depends on your region's climate and the time of year, not a fixed set of four seasons. In cold and mountainous areas, the flow is driven by snowmelt, while across the tropics and other wet-and-dry climates it's driven by rain, so every stream follows its own yearly pattern. The safest approach is to learn when your route runs wet and when it runs dry, then plan around the dry stretch.
1. Know Your Wet and Dry Seasons
In much of the world, water swings between a wet season and a dry season rather than four even quarters. During the rains, streams and springs run full and temporary ones appear across the landscape. As the dry season sets in, many of those same sources shrink and the smallest creeks can vanish, so that's when to carry extra water and lean on your backups.
2. Snowmelt and Cold-Season Water
In cold and high-altitude regions, spring snowmelt usually brings the highest flows of the year. That surge often carries more sediment, so the water can look cloudy, and you'll want to let it settle or pre-filter before treatment.
Deep in winter, streams can freeze over and snow can bury the ground. Melting snow gives you a water source when little else is available, but treat it like any other water before you drink.
3. When Sources Run Low
Late in a dry season or a long hot spell, even sources marked on your map may already be gone. This is when recent trail reports matter most, since a stream that flowed a month ago can be dry today. Carry enough water to cross these gaps, and be ready to fall back on the backup source you planned.
Tip: Before any trip, look up the season and water conditions for your exact route, from the country and region right down to the trail. The more you know about your specific area, the better you can plan where and when you'll find water.
What Should You Do After Finding a Water Source?
Finding the best available source is only half the job. Even a clear spring or a fast-flowing mountain stream can carry bacteria and protozoa you'd never spot by looking, so treat every natural water source before you drink.
You have a few ways to do that, and each comes with a trade-off. Boiling kills the microbes in the water but needs fuel and time to heat it and let it cool. Chemical drops work too, though you have to wait before drinking and they can leave a taste. They also have a blind spot, since chlorine and iodine do not deal well with parasites like Cryptosporidium, so filtering first is the safer way to handle it.
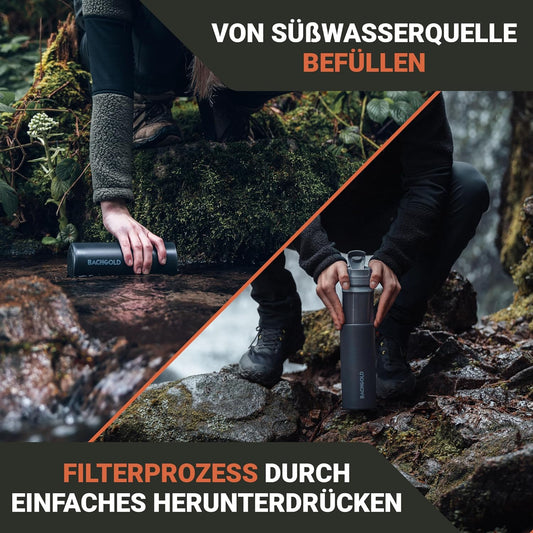
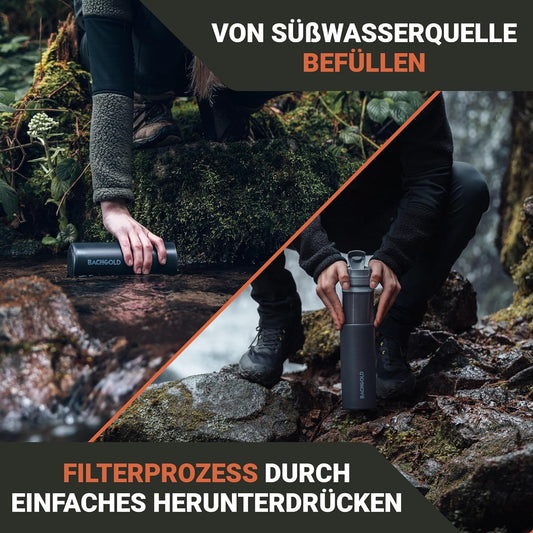
For most hikers, filtering is the simplest of the options. A good filter takes only a few seconds to use and lets you drink straight from the source, with no fuel to carry and nothing to wait for. If you want to compare every method side by side, read our guide to Safe Drinking Water While Hiking.
Find Water on Any Trail
Get these habits down and you can walk up to almost any water source and size it up with a clear head, which keeps you out of trouble long before you fill a bottle. The one thing reading the land cannot tell you is what is actually in the water, since the bacteria and protozoa that make you sick are far too small to see.
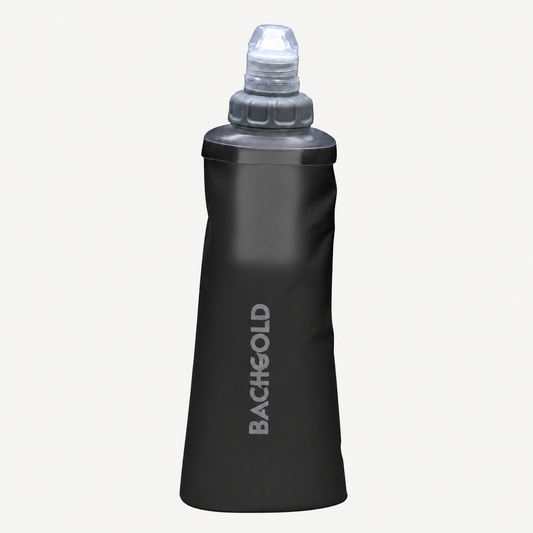
That is why the last step never changes, treat whatever you collect, and on the move a filter is the most practical way to do it. BACHGOLD water filters reduce bacteria and protozoa, and the Squeeze and Straw reduce viruses too, with no chemicals to measure and no batteries to run flat.
A share of every order also goes to the Viva con Agua Nepal drinking-water project, so people who have no filter to reach for cleaner water too.