Hiking Trail Difficulty Ratings Explained
Jerome StolzChoosing a hiking trail involves more than checking the distance and elevation. A short route can be surprisingly demanding, while a longer trail with a steady climb and a well-maintained path can feel manageable. A difficulty rating can give you a starting point, but knowing the factors behind that rating will help you judge the trail more accurately.
In this guide, we’ll look at how hiking trails are rated, what makes a route easy, moderate, or difficult, and how to use these ratings when planning your next hike.
What Does a Trail Difficulty Rating Actually Measure?
A hiking trail difficulty rating gives you a general idea of the effort and skills a route requires. In general, there are five factors that determine a trail’s difficulty.
-
Distance tells you how far you will walk. Check whether the listed distance covers the full route or just one way. It helps you estimate your time, but remember that a short trail is not always an easy one.
-
Cumulative elevation gain is how much climbing the hike involves. It adds up every uphill section, including climbs after a descent. More climbing usually means more effort, even when the distance stays the same.
-
Gradient is how steep those climbs and descents are. Two trails can have the same elevation gain, but the one that climbs over a shorter distance will feel steeper.
-
Surface is the ground you walk on. A firm, well-kept path is usually easier than one covered in mud, loose stones, roots, or scree. Rough ground can also slow you down.
-
Exposure describes the risk from the terrain around the path. A narrow trail next to a steep drop can call for care and confidence, even without much climbing.
These factors explain why a difficulty label alone cannot tell you whether a hike will be easy or hard for you. Parks Canada advises hikers to look beyond the rating and consider current weather and trail conditions, along with their own fitness and experience, before choosing a trail.
What Are the Difficulty Levels in Hiking?
Most hiking trails are rated on a scale from easy to difficult, with moderate in between. The names and criteria typically vary, and some systems add more levels or use numbered grades instead.
These systems generally share three broad levels, and their descriptions line up like this:
-
Easy: A clearly marked path with gentle gradients and a stable surface, suited to families and first-time hikers.
-
Moderate: Some steady climbing and rougher ground underfoot, such as rocks, roots, or steps.
-
Difficult: Long or steep ascents, rough or exposed sections, and terrain that can call for navigation or scrambling skills.
Since each system sets its own criteria, a rating is most useful for comparing trails rated by the same park or app. A moderate trail on one platform can be noticeably harder than a moderate trail on another, so check the distance, elevation gain, and terrain covered earlier before you choose.
Read more: Hiking for Beginners: How to Plan and Prepare for Your First Hike
How to Time Your Hike
One common way to estimate hiking time is Naismith’s Rule, a formula developed by Scottish mountaineer William W. Naismith in 1892. It allows one hour for every 5 km (about 3 miles) walked, plus another hour for every 600 m (about 2,000 feet) of ascent.
For example, a 5 km hike with 300 m of total ascent takes around 1 hour 30 minutes according to the formula: one hour for the distance, plus 30 minutes for the climb. This estimates walking time, so allow extra time for breaks, navigation and challenging trail conditions. Your fitness, pack weight and the difficulty of the descent can also affect your pace.
When planning a hike, use the estimate alongside current trail information and your own experience. If you're hiking in a group, account for everyone's pace and set a turnaround time that leaves enough daylight to finish safely.
What Does the SAC Hiking Scale Mean?
The SAC hiking scale, officially the SAC Mountain and Alpine Hiking Scale, is the Swiss Alpine Club’s six-grade system for rating terrain on mountain and alpine routes. The scale runs from T1, a well-built footpath, to T6, which is mostly pathless and very exposed. In Switzerland, marked trails also follow color codes that match these grades, so the waymarks give you a first hint of what to expect.
The table below sums up each grade, from the terrain to the skills, gear, and trail markings it comes with:
| Grade | Path and Terrain | What You Need | Trail Marking |
|---|---|---|---|
| T1 Hiking | Well-built path with little risk of falling | No special skills or gear, trainers are fine | Yellow |
| T2 Mountain Hiking | Continuous path with some steep sections, where a fall is possible | Sure footing, hiking boots, basic navigation | White-red-white |
| T3 Difficult Mountain Hiking | Path not always visible, with exposed sections, scree, and spots where you need your hands for balance | Good balance, mid- or high-cut boots, some navigation and alpine experience | White-red-white |
| T4 Alpine Hiking | Occasionally pathless, with steep grass, rock ledges, simple snowfields, and minor glacier crossings | Experience on exposed terrain, sturdy boots, good navigation, careful planning | White-blue-white |
| T5 Difficult Alpine Hiking | Often pathless, with easy climbing, steep cliffs, and bare glaciers | Mountaineering boots, strong navigation, basic ice axe, rope, and crampon skills | White-blue-white |
| T6 Very Difficult Alpine Hiking | Mostly pathless and very exposed, with scrambling and steep glaciers free of snow | Excellent navigation, extensive alpine experience, full command of technical alpine gear | Mostly unmarked |
The grades describe the ground, not the whole hike. A short T3 route may require more balance and care than a long T1, while the T1 may still be the more tiring day because of its distance.
The SAC also assumes favorable conditions when grading a route, meaning good weather and visibility, dry ground, and suitable snow cover, so in rain or fog the same route can be harder than the grade suggests.
What Changes a Trail’s Difficulty on the Day?
A trail’s published rating may stay the same while conditions change around it. The distance and elevation gain on the map still matter, but they cannot tell you how slippery the ground will be, how clearly you can see the route, or how long you have before dark.
Check out for these things while on the trail:
-
Snow and ice can hide the path and its markers. A route that is easy to follow in summer may require winter equipment and navigation skills.
-
Rain and mud can make rocks, roots, and steep sections slippery. You may need to move more slowly, especially on the descent.
-
Heat can make the same climb feel more demanding and raises the amount of water you should have available, so carry extra and drink whenever you feel thirsty.
-
Shorter daylight leaves less time to finish the route or deal with delays. Check sunset time when estimating your hiking day.
-
A heavier pack adds effort to climbs and can make rough descents harder to manage.
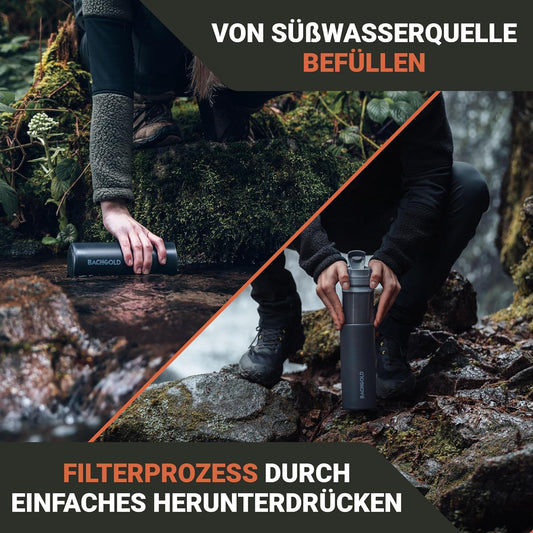
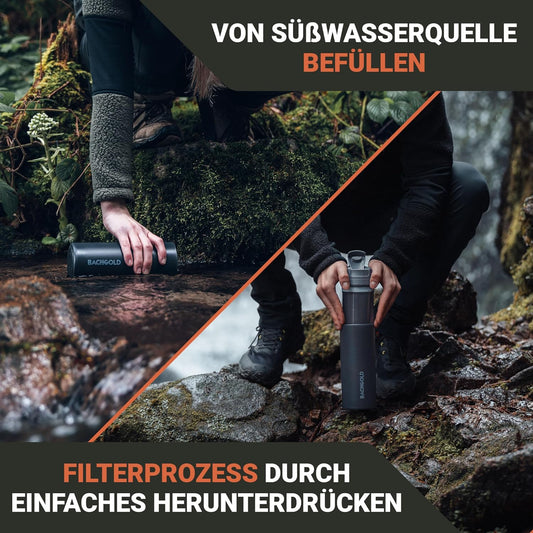
Water availability can also change a trail’s difficulty. On a route with no streams or lakes to refill from, you need to carry all your water from the start, and that extra weight can make steep climbs more tiring. Routes with natural water along the way give you another option, since a portable water filter lets you refill as you go and start with a lighter pack.
How Do You Pick a Trail Difficulty That Fits You?
Use a hike you have already completed as your starting point. Then work through these checks before choosing a new route:
-
Find your baseline: Pick a recent hike and note its total distance, elevation gain, terrain, and finish time, then think about how much energy you had left at the end.
-
Compare the physical effort: Check whether the new trail is longer or has more elevation gain, and add extra time if either is greater.
-
Check the terrain and skills needed: Read the route description for rough ground, exposure, and unclear paths. A trail can fit your fitness level and still require surefootedness or navigation skills you might not have practiced.
-
Choose a manageable step up: If both the effort and the terrain are new to you, pick a shorter route or easier ground first, so you can build experience without taking on every challenge at once.
-
Set a turnaround time: Decide when you need to head back before you start, and stick to the time even if the end of the trail feels close.
Get this comparison right and every trail after it gets easier to judge. Your own hiking history becomes a yardstick you can trust alongside the grade on a map.
Before You Choose Your Next Trail
A difficulty rating only gets you so far. Match the route’s distance, climb, and terrain against a hike you already know, and you will have a much better idea of what the trail demands.
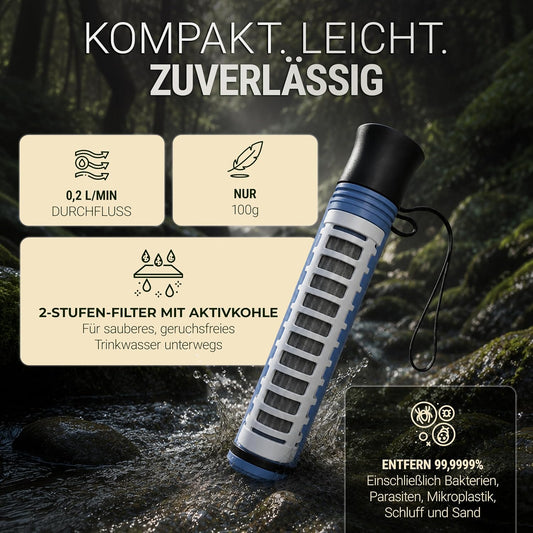
If your chosen route requires refilling your water from a stream or lake along the way, a water filter is worth bringing along. Our BACHGOLD filters can be a great choice, as they remove bacteria and protozoa from natural water. That means you can refill as you go instead of carrying every drop from the trailhead. Each filter also supports clean water off the trail. Part of every purchase funds Viva con Agua’s drinking-water project in Nepal, which helps bring safe water into communities that need it.
Frequently Asked Questions
Are Hiking Difficulty Ratings Standardized? +
What Does Moderate Actually Mean on a Trail? +
Is 2,000 Feet of Elevation Gain a Hard Hike? +
References
The following sources were used to research this article.
- National Park Service, Shenandoah National Park. How to Determine Hiking Difficulty. https://www.nps.gov/shen/planyourvisit/how-to-determine-hiking-difficulty.htm
- Parks Canada. Trail Difficulty Ratings. https://parks.canada.ca/voyage-travel/experiences/sports/randonnee-hiking/niveaux-sentiers-trail-ratings
- AllTrails Help. Difficulty Ratings on AllTrails. https://support.alltrails.com/hc/en-us/articles/16596491196436-Difficulty-ratings-on-AllTrails
- Parks ACT. Australian Walking Track Grading System. https://www.parks.act.gov.au/before-you-go/australian-walking-track-grading-system
- New Zealand Department of Conservation. Walking Track Categories. https://www.doc.govt.nz/parks-and-recreation/things-to-do/walking-and-tramping/track-categories/
- Swiss Alpine Club. SAC Mountain and Alpine Hiking Scale. SAC, 2020. https://www.sac-cas.ch/fileadmin/Ausbildung_und_Sicherheit/Sicher_unterwegs/Sicher_unterwegs_Wandern/2020_Berg_Alpinwanderskala_EN.pdf
- Scarf, P. (2007). Route Choice in Mountain Navigation, Naismith’s Rule, and the Equivalence of Distance and Climb. Journal of Sports Sciences, 25(6), 719–726. https://doi.org/10.1080/02640410600874906
- Mountaineering Scotland. Planning and Following a Route. https://www.mountaineering.scot/safety-and-skills/essential-skills/navigation/planning-and-following-a-route